Sunday, October 23, 2011

Shredded Chicken and Homemade Stock

Warning!
The following images are kind of gross and yucky. Viewer discretion is advised.


I HATE touching raw chicken. Doesn't everybody? However, i've come to somewhat face my fear with this recipe. Shredded Chicken in the crockpot is one of the things I regularly make so that I always have some shredded chicken on hand for soups, casseroles, sandwiches, etc. . . Plus, making your own chicken stock is just so satisfying!


Shredded Chicken and Homemade Stock
Printable Recipe
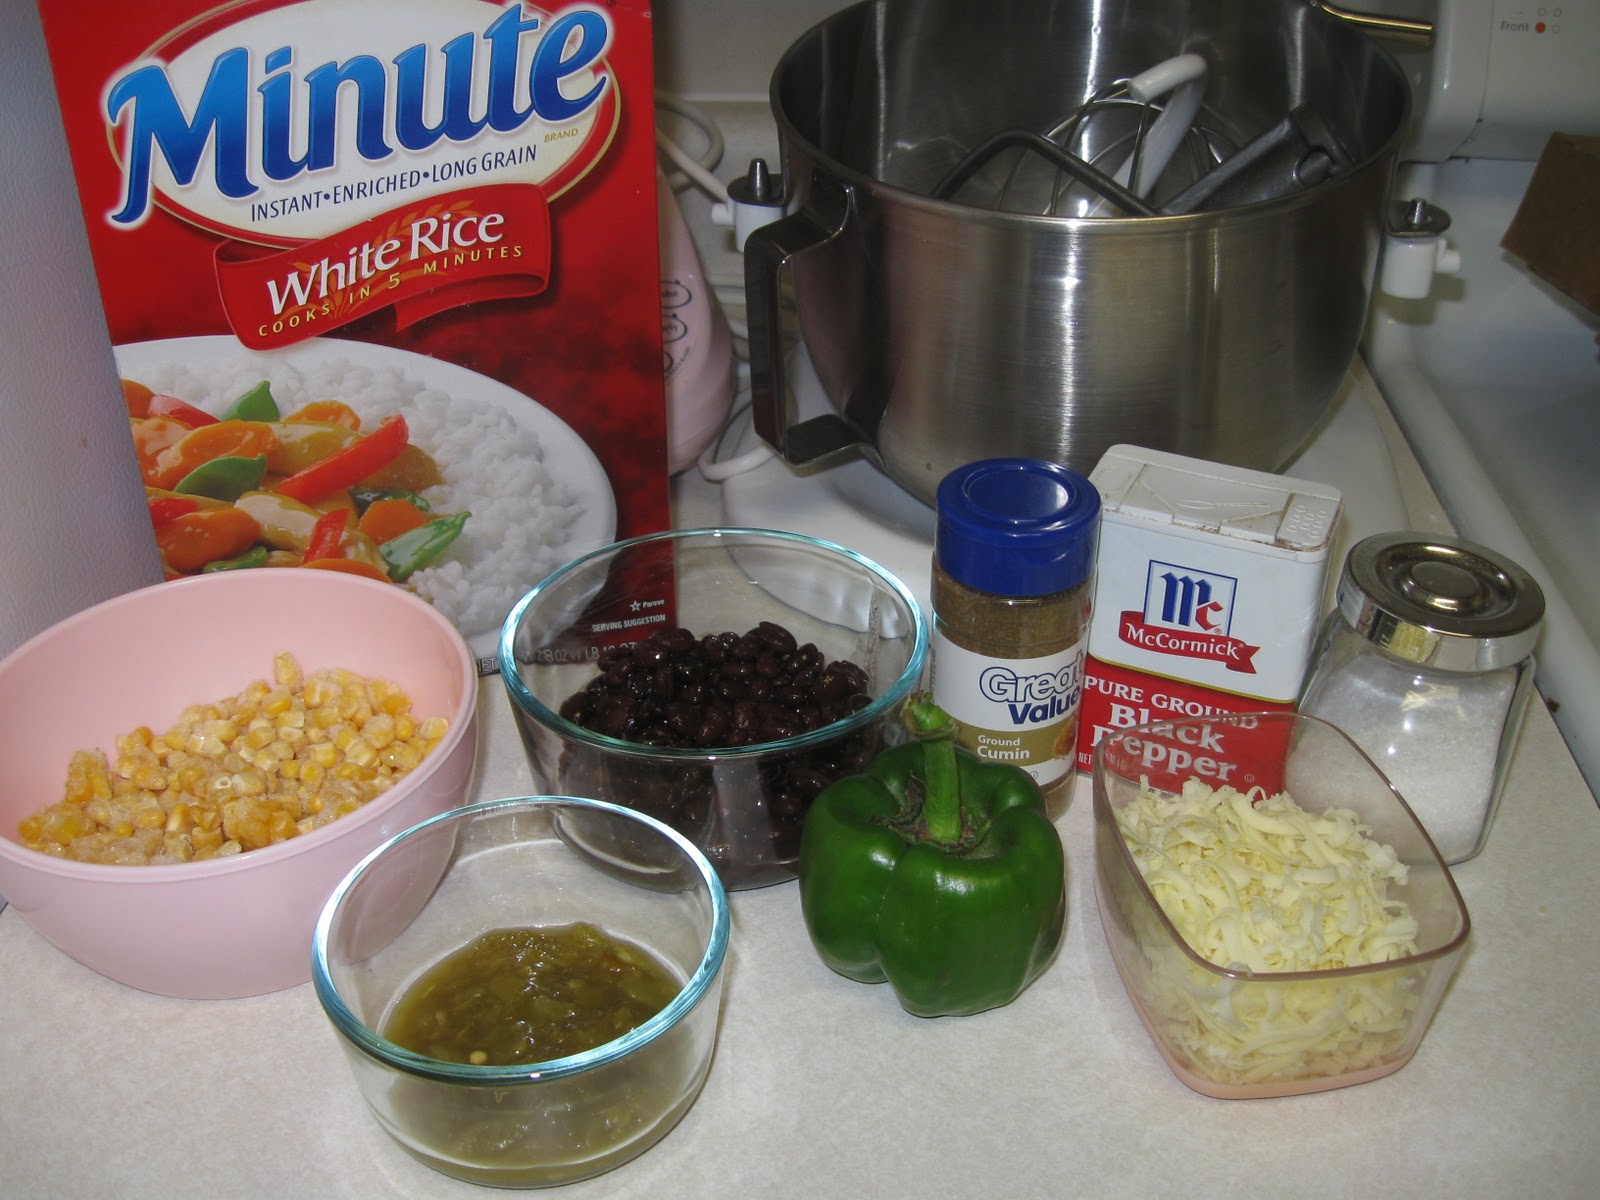
1 Whole Chicken (I'm not sure why this one looks so extra icky in the picture)
1-2 Cups of Water
Veggies- carrots, onions, celery, garlic, whatever you have lying around
Salt and Pepper

Before you start this, make sure you are doing it in the morning. This whole process, with the homemade stock, is pretty much a two-day process. But a very limited and easy two-day process if that makes you feel better. I like to take the lazy route. :)
 Here is where things start to get nasty. Reach inside that chicken and pull out the innards! Sometimes, the nice butcher will have already taken all of these things and put them in a little bag for you. It makes it so easy! Unfortunately, I had to hand scrape all this stuff out of there. Yikes!
 Place your chicken in your crock pot and cover with salt and pepper, rubbing it in. Now cut up your vegetables! They are only there for flavor, so use as little or as much as you like.
 Add your veggies to the crockpot and then add some water.
 Cook on low for 8-10 hours. It's still not very pretty when it's all done. But that's ok!
 Go ahead and remove the chicken to a cutting board or large bowl.
 Let it cool off for a bit, and then pull all the yummy chicken off of the bones.
 Here is the leftover nastiness. Bones and fat and skin and things that just felt too slimy for me to ever want to eat.
 Take all those leftover bits and just dump them right back into the crockpot!
Add 4-6 cups of water.
And a couple splashes of vinegar. Whatever vinegar you like. I didn't have any plain vinegar, so I just used Apple Cider Vinegar. The vinegar is going to help pull calcium out of the chicken bones and make this stock THAT much more healthy for you! I also tossed a dried bay leaf in there. Set your crockpot to low and let it sit for 8-24 hours! My crockpot only has 8 and 10 hour increments on it, so I set it to 10 hours, went to bed, and then set it for another 8 hours once I woke up just because I didn't want to deal with chicken at 8 in the morning.
In the meantime, you can figure out what to do with all that shredded chicken! It makes about 6 cups. I like to separate it into little freezer baggies. I did two with plain chicken (that I can use for casseroles, tacos, soups, pot pies. . . ) and then I added a cup of BBQ sauce to the other two bags and squished it around. These will be defrosted, heated, and used for BBQ chicken sandwiches! I put one bag in the fridge and the other three in the freezer. Just try and put them in there flat, so that they will freeze flat and take up less room.
Now, back to the stock. After you've left it going for however long, it might look something like this!
Turn off the crockpot and go ahead and scoop out as much of the big chunks as you can. Toss it all in the trash or feed it to your scavenger kitty cats.
Go ahead and grab whatever container(s) you want to keep your stock in and strain the stock right into it. I used a funnel and some cheesecloth and a big mason jar.
Now stick your container(s) in the fridge for a few hours. You want all the fat to rise up to the top and be totally gross looking. Grab a slotted spoon and scoop out the fat. Unless you like that kind of stuff, of course.
And there you have it! Enough shredded chicken for 4 different meals and homemade chicken stock! With no preservatives, low sodium, no weird additives, etc. . . And don't worry if it seems pretty gelatinous. That's a GOOD thing! That means it's packed with yummy nutrients! It will become liquidy again when you heat it up.

Extra notes: I lazed around for most of the two days making this. I love that I don't have to worry about leaving anything in the crockpot for too long. An extra hour or two won't hurt it! However, if you're a "get er done" kind of person, this can be sped up. You can cook the chicken on the stove for a few hours and then cook the stock on the stove as well for another few hours. But, generally when it comes to meat, the longer it's cooked, the yummier it will be. And the better your house will smell. I seriously woke up the morning after I started the stock and thought I was in comfort food heaven. Use your stock within 48 hours or freeze it for a few months! You can easily freeze it in smaller, more portion sized containers, or even freeze in ice cubes trays (and then transfer to a ziplock) so you have easier control over how much stock you need.

Use Shredded Chicken for:
Cheesy Chicken and Bacon Pillows
Chicken Tacos

Tuesday, October 18, 2011

Winger's Sticky Fingers

This recipe is SO YUM! Trust me. If you've ever been to Winger's Restaurant, you've undoubtedly had their famous Winger's Sauce and/or Sticky Fingers. When I was pregnant with my Little One, I craved Winger's ALL. THE. TIME. Luckily, I found a copycat recipe online that seriously tastes exactly like the real deal. The best thing about it is that you can use the sauce for all kinds of things: grilled chicken, fish, pork chops. . . My sister-in-law actually dips her popcorn in it (as do I! I actually made a batch of popcorn the other day and then poured this sauce right over the whole bowl, shook it all up, and then ate it all. So good.)

Winger's Sticky Fingers
Thanks Eat Cake for Dinner

This recipe requires only a few ingredients! Yay!
3/4 Cup Brown Sugar
3 Tbsp Frank's Red Hot Sauce
2 Tbsp Water
1 Cup Oil
Frozen Breaded Chicken Strips
The Frank's Red Hot Sauce is VERY important! It's the star of the show! If you HAVE been to Winger's, open up this bottle and smell it. Smells like Winger's, doesn't it? :)
Add the Brown Sugar, Hot Sauce, and Water to a small saucepan. Heat it up over medium-low, stirring every once in a while until the sugar is all dissolved.
Did you use Frank's? Double check! If you comment and say "My Sticky Fingers didn't taste at all like Winger's" I will ask "Did you use Frank's Red Hot Sauce?" to which you will reply "No, but. . . " "I told you to use Frank's!!!!"
Oh look! A picture of nothing! Actually, it's a paper towel on a plate. Have one ready. Now, heat up your oil in a large skillet over medium-high heat.
Add your chicken! This recipe makes enough sauce for about 6-8 pieces. I've only cooked up two pieces here because I was making it for my own personal lunch today.
Fry for about 2 minutes and then flip. Sizzle, chicken, sizzle!
Once finished, remove to paper towel to drain off excess oil.
Now put your chicken in a huge tupperware container with a lid (or a little glass bowl if you're only making two like me) and SHAKE!
Mine broke in two while I was shaking. Haha! You can serve as is, with some extra sauce to dip it in, or ranch or something, and maybe a side of fries or steamed veggies.
OR you can eat it my favorite way, a Sticky Finger Salad! Make up a salad with plenty of lettuce, cheese, craisins, grape tomatoes and some "Creamy Amazing Dressing." This dressing is basically 1 Tbsp Winger's Sauce and 1 Tbsp Ranch, mixed up. Top with your chicken and then thoroughly enjoy. Mm-mm!


Extra notes: If you have extra sauce, you can easily keep it in the fridge for about a week, i'd say. Just heat it up when you need it. You can also double-triple the recipe with no problems. These are a little bit spicy, so if you want to give them to your kids, serve with ranch or other dairy-based dipping sauce. It will cut down on the spicyness considerably and still have the same yummy flavor. Also, if you coupon, there are almost always coupons for Frank's online for $0.50 to $1.00 off any bottle. The small bottles are priced around $0.97 at Walmart, so I get my hot sauce free! One small bottle contains about 9 Tbsp, so you can make the sauce 3 times from a free bottle of hot sauce! SCORE!

Sunday, October 16, 2011

Mexican Black Bean and Corn "Casserole"

Man, I am a HUGE liar! Haha! Remember how I said I was going to post all these awesome recipes this last week? Didn't happen, did it? Sorry! I've been battling a pretty nasty cold since Monday morning/Sunday night and haven't had any kind of motivation or energy to cook.
PLUS, when I did cook, it was all just mediocre, or the pictures looked bad, or I was too delirious to differentiate between dreams and reality.
Annnnnyway, on to today's recipe! 

Ok, I know.  The name of this is AWFUL! Help me name it?
I LOVE making this for lunch! It is so quick and easy! You can use all fresh ingredients, or just canned and frozen ingredients, or a good mix of both! I always have most of these things on hand and here's the best part:
My Little One LOVES this meal!

Mexican Black Bean and Corn "Casserole"
 About half a can (or half a cup) of Black Beans
1 Cup of Frozen Corn
2-3 Tbsps Diced Green Chilis
1 small Green Bell Pepper, diced (or half of a nomal sized one. I got this cute little guy at a local farm)
White rice, cooked (yes, I use instant rice all the time. Sue me!)
Cumin
Salt and Pepper
Freshly Shredded Cheese (Your favorite kind. I used white cheddar that my parents brought down from a local store in Idaho! I miss you, Idaho!!!!)
Not Pictured- Because I'm still a little bit delusional from this cold
Cilantro
Crushed Red Pepper
Half a Lime
 Start cooking your rice. If using real rice, start making it and then after 10 minutes or so, start with the rest of the food. Luckily, Instant Rice only takes like, 5 minutes. :)
Heat a big ole' skillet on medium heat. Add your Black Beans.
 Then, add your frozen corn.  (Wow, the light is WAY different in these two pictures!)
 Third, dump in the Diced Green Chilis
Last, Diced Bell Peppers!  (Don't you love the tiny blurry snippets of my hands in every picture?)
Stir it all up and then add your seasonings. I like to just add a good layer of cumin all over the top, and then a light layer of sea salt and a light layer of pepper. Add Crushed Red Pepper according to your own taste. I only used a pinch. Heat it all up for about 4-5 minutes until it's all heated through and melding together in spicy deliciousness.
Now it's time for the cilantro! Well, and the lime. But I actually didn't realize that I didn't have any limes left. Boo!
Just pull off a hand full of cilantro leaves and rip them up with your fingers and dump them in. Then, using your smart, non-sick person brain, squeeze half a lime over everything. Mix it all up and let it continue to cook for an additional 3 or 4 minutes.
Serve over rice and then top with plenty of cheese! Freshly grated is best, because it melts much better!
Don't forget to serve some up for your own Little One!


Extra Notes: I love this dish because it is SO versatile! You can use brown rice instead or even better, Mexican rice! You can add chopped onions, minced garlic, red bell peppers (which would make this SO pretty!) or even up the spice factor by adding in a fresh chopped jalapeno.  Black beans aren't your thing? Use pinto! or whatever you like! I've even made this with a can of refried beans. Seriously. And if your kids aren't fond of anything even remotely spicy, go ahead and omit the Crushed Red Pepper or even the Diced Green Chilis (although, they really aren't very spicy at all.) The good thing is, the cheese helps cut down on the spice and adds an extra yummy factor for everyone. Enjoy!

Tuesday, October 11, 2011

Cinnamon Honey Butter

 So, I woke up sick this morning. Blah! But, do you know how to make a sick person feel better? Cinnamon Honey Butter on some nice warm bread or toast, that's how. Luckily I made this last night, apparently anticipating this darn cold. There's no bread recipe for today, but I will show you how to make the butter!

Cinnamon Honey Butter
4 things, that's all!
1/2 Cup Butter, or one stick, softened
1/2 Cup Powdered Sugar
1/2 Cup Honey (Local is best, especially if you have seasonal allergies! Local honey helps!)
1 tsp Cinnamon
 Pour everything into a bowl! Order doesn't matter. I just happened to pour in the honey first.
 And then a nice chunk of softened butter.
 Powdered sugar! One of the worlds great discoveries.
 Last, cinnamon. I don't know about you, but I spell cinnamon wrong every time I type it and then I have to go back and erase. My fingers just naturally put an "o" instead of an "a". Every. Time.
 If doubling or tripling this recipe, go ahead and use a stand mixer. I just used my broken handheld mixer that stopped every 3 seconds and barely got the job done.
 Grab a rubber spatula, scrape down the sides and make sure everything is incorporated.
  Next up is my favorite little trick of all time!!! Fold a ziplock baggie over a glass or measuring cup or something and then dump the butter mixture in there! It's amazing how well this works and how easy it makes everything!
 Cut the tip off the corner of the baggie
 And then squish the mixture down into a super cute little mason jar.
 I think this is a 1 pint size? Correct me if i'm wrong. There was too much butter to fit into one, so you can just put the extra into something else, or use two of the skinnier little mason jars. Are those half-pints? I don't know. :) Look at all that cinnamon-y goodness!
 You can go ahead and eat it right away, or pop the lid on and keep it in the fridge and then serve at room temperature because it's easier to spread. If you are crazy, you can gussy it up and make it cute to give away to a friend, teacher, neighbor, whomever.
I didn't have any nice, warm, homemade rolls to spread it on, so I toasted up some of my favorite bread from Bountiful Baskets and ate it right up!

Extra notes: This butter is a little sweet. My hubby thought it was perfect, but it was a tad sweet for me. Delicious, nonetheless. You can certainly reduce the amount of powdered sugar or omit it all together and it will still be yummy. Also, that bread is SO GOOD! For more info on Bountiful Baskets, or if you are super confused, go ahead and leave a comment or shoot me an email and I will be more than happy to help you out. I love Bountiful Baskets!!!
Related Posts Plugin for WordPress, Blogger...