Tuesday, February 5, 2013

A Peek Inside My Freezer: Part 2

Welcome to part 2 of my mini-series, A Peek Inside My Freezer!
Today's post is brought to you by. . .
My ice cubes trays!

Even if you have an icemaker in your freezer, you NEED ice cube trays. I use these bad boys for just about everything! They help me to be more frugal, to be less wasteful, and make cooking and creating things in the kitchen so much quicker and more versatile.
At the moment, they are housing some homemade chicken stock. Through a manager's special at Smith's, I was able to get a whole chicken for $3.50 and I used the bones for this stock, along with some veggie scraps that I talked about in the first part of my mini-series . So basically, I made this stock FOR FREE with just the leftover things you would normally toss out.
Moving on.
As I said, I use my ice cube trays for everything. Any little thing that is leftover, and somewhat liquidy, can be frozen into little cubes and then transferred to a freezer bag. Here is the run-down of what is currently inside my freezer:
-Chicken Stock (about 3 quarts worth)
-Turkey Stock (2 quarts worth, which I made with my turkey carcass from Thanksgiving!)
-Veggie Stock (About 1 quart)
-Lemon Ice Cubes (these are water ice cubes with a small slice of lemon frozen inside them with just a hint of extra lemon juice. Great for adding to my water!)
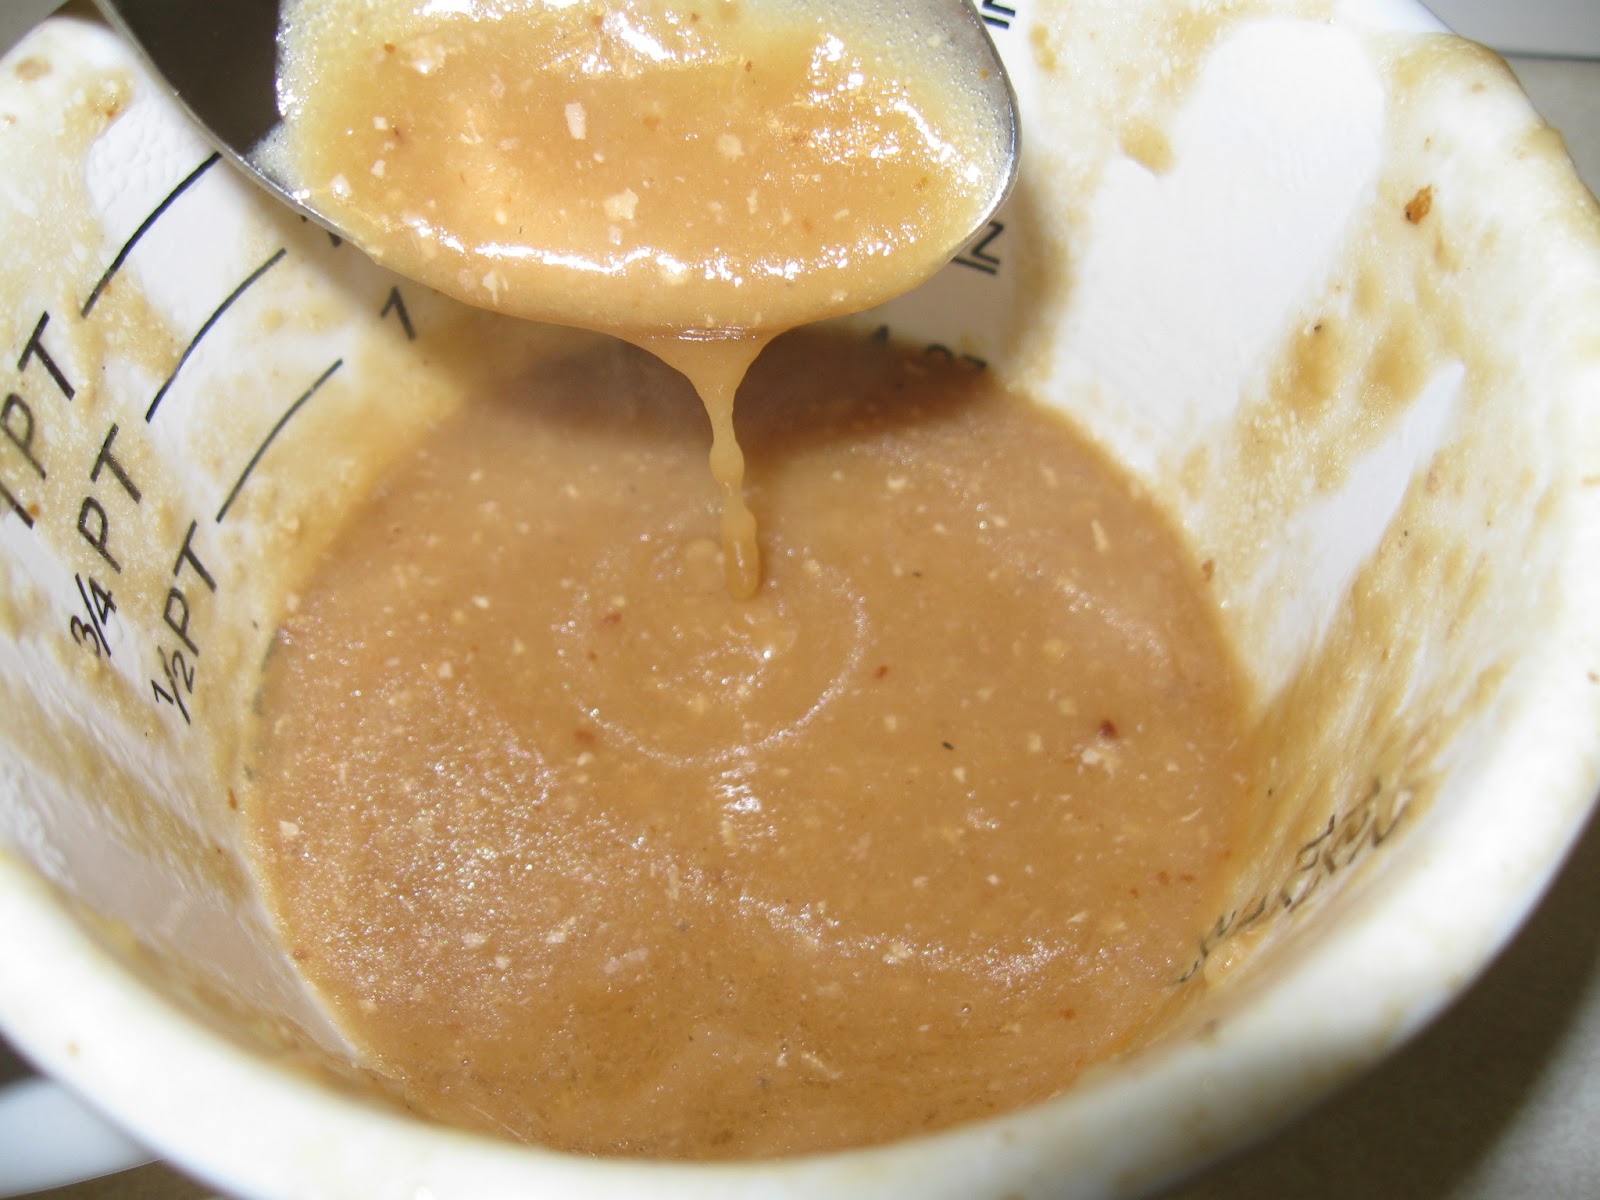
-Lime juice (I had some limes I needed to use before they went bad, so I squeezed the juice into the trays!)
-Lemon Juice
-Tomato Paste (my recipe only called for half a can, so the rest got frozen.)

On a few of the bags, I wrote down how much of the item made up a cube, for example with the lime juice, my limes were teeeeeeny tiny, so the juice of 1 lime equaled 1 cube. It can also be helpful to figure out how much each cube will translate into, measurement wise. Each little cube in my ice cube trays holds about 1 1/2 tablespoons of liquid. So, if a recipe called for 3 Tbps of fresh lemon juice  I would use 2 of my lemon juice cubes.
I LOVE freezing things in this way! I have so much control over how much of something to use, and I don't have to worry about defrosting an entire quart of chicken stock, when I only want a few tablespoons to add to a gravy.
Other things I have been known to freeze in my trays include: homemade baby food, fruit sauces/syrups, fruit juice with a toothpick in the middle for mini-popsicles.
I've also seen on Pinterest an idea for freezing fresh herbs in an ice cube tray with some olive oil, and I am most definitely going to give that a try next time I have some leftover herbs!

What do you like to freeze in ice cube trays?
Let me know!


Check out Part 1

Thursday, January 31, 2013

Potato Mountain

We all have those foods from our childhood that we look back on and think "holy crap, that stuff was delicious!" (excuse the language)
For me, it was a snack/side dish my parents used to make where they would deep fry some curly fries, top them with cheese as soon as they came out of the fryer, and then we would dip them in ranch dressing. Supposedly the idea came from a dish called Potato Mountain at some restaurant in my hometown that closed down before I was even born.
I decided to take that incredibly delicious snack one step further and turn it into a whole meal! You've heard of Hawaiian Haystacks right? These are like Curly Fry Haystacks. And they are better than Hawaiian Haystacks. Yeah, I said it. BETTER.
The pictures are lacking because, well, this dish is incredibly easy to make!

Potato Mountain

Ingredients:
Curly Fries
Cheese
Optional toppings:
  • Bacon
  • Salsa
  • Sour Cream
  • Chili
  • Ranch Dressing
  • More Cheese
  • Chives
  • BBQ Chicken/Pork/Beef
  • Taco Meat
  • Cream Cheese
  • Coleslaw
Seriously, the possibilities are endless.
Do you see this golden deliciousness?
So basically, you take some frozen curly fries and bake them per the bags instructions. I baked mine in a 400 degree oven for 25 minutes.  Once they are done, cover them with cheese and pop em back in the oven just for 2 or 3 minutes, until all the cheese is melted.
Move your fries over to a platter and you can see the mountain beginning to take shape. :D
Serve hot with whatever sides you like! We are a simple folk, so bacon, salsa, chili, sour cream, and Ranch were our toppings of choice. The Ranch didn't make it into the picture. It was on it's way home from the grocery store with my husband while this picture was being taken.

Extra notes: While i've healthified it a bit by avoiding the deep fryer, these are still fairly unhealthy. I mean, heaps of cheese and bacon and chili and ranch? Yeah. not so great. But sometimes you just have to splurge and let yourself go! Also, my husband doesn't talk much. That's just a fact. It can be hard for me to tell what he's really thinking sometimes. However, when he goes back for seconds and completely cleans his plate, that's when I know something is good. THIS is good. :)

Monday, January 28, 2013

A Peek Inside My Freezer: Part 1

This post might be a little boring for some, but hopefully some of you will find some helpful tips!

I'm doing a little mini-series on what's inside my freezer!
I'm starting off with one of my favorite time-saving tricks- pre-cut celery and onions, and my veggie scraps bag!

Ever buy a head of celery, use 3 or 4 sticks, and then never get around to using the rest? Trust me, you can use and save every last bit it! Slice up the remainder of your celery sticks, lay them flat on a lined baking sheet, and freeze until they are solid. Then just transfer them to a freezer baggie or container.
The same can be done with onions! I'm not a huge onion fan, so when I find myself with a bunch of onions (from my Bountiful Basket) or I've only used half of one for a recipe, I chop up the rest and freeze those as well! I use this handy-dandy onion chopper, but you can certainly cut them up by hand. This one is nice because it makes chopping onions SO quick and easy, the pieces come out a uniform size, and you don't end up crying from the onion vapors!


I love having these bags of onions and celery in my freezer because SO many recipes call for them and I can just pop out a few and toss them in my soups, stews, chili, stuffing, gravy, casseroles, or whatever you might need them for! I just keep the same bags in the freezer and add to them as I acquire more celery or onions.

Next up is my veggie scrap bag! Remeber how I said that you could use every last bit of that celery head? Save the leafy tops and bottoms that you normally chop off and throw away. You can even use every last bit of your onion- top, bottom, and skin! Just rinse them really well and toss them into a veggie scrap bag or container to keep in your freezer. You can use these scraps to make delicious broths and stocks! Add them to water to make vegetable stock, or with chicken or other meat bones to make chicken/beef stock. I also keep carrot tops and peels in here, along with garlic skins, parsnip peels, and my newest addition: egg shells! The egg shells add extra calcium to your stocks.


And that's it! This really is a mini-series isn't it? Emphasis on mini. :)
Stay tuned for "A Peek Inside My Freezer: Part 2."


Check out Part 2

Monday, January 21, 2013

Corn Tortillas

If you hadn't noticed, I have a particular fondness for Mexican-inspired foods. Perhaps it's my Southern California upbringing, my Mexican best friend, or that the food from down south is just so dang delicious that it can't be ignored!
So far i've shared:
Easy Mexican Rice
Flour Tortillas
My mildly-famous Salsa Verde
Black Bean and Corn. . . casserole?
And of course, one of my meals that started my adventure in really, truly cooking, Chicken Tacos, or TacOdasso's as we so fondly call them.

Today I want to share something so ridiculously easy, you won't believe that you haven't made them before. Unless of course you don't have a tortilla press. Then it's possible to believe why you haven't made them.
Corn Tortillas!
Don't be scared though. You do NOT NEED a tortilla press. It just makes them into such perfect little circles! A rolling pin would work just fine. If you are interested in a tortilla press, however, here is the one I own. Trust me, once you have one, you will find every excuse to use it every chance you get.


By the way, there are some things that once you go homemade, you can't go back. I have jam and rolls on that list. Now, I also count corn tortillas. :)

Corn Tortillas

Ingredients:
2 Cups Masa (Corn Flour) -I don't know where you live, but here in Utah I found this super easily at my neighborhood Smith's. It was on the top shelf in the baking aisle by the flour. The bag was only $2.39 and will make about 132 tortillas. 132!!! Can't get much more economical than that.
1 1/4-1 1/2 cups of Water.
3/4 tsp Salt

The pictures are really bad today. I snapped them so quick and without much care because I really just wanted to make them and eat them as soon as humanly possible. :)
Add 2 cups of masa and the salt to a large mixing bowl and mix. You can just use your hands. No need to dirty a spoon or whisk.
Next pour in the water and continue mixing with your hands. Start with 1 1/4 cups. You want the dough to not be sticky, to all come together, and not be too dry. You can test this by grabbing a small portion, rolling it into a ball, and flattening it between your hands. If the edges are really cracked, the dough is too dry. Slowly add more water, up to 1/4 Cup more until it's good. I used a full 1 1/2 Cups.
Divide your dough into 16 balls and press them one at a time in your tortilla press. Stick it between two sheets of plastic wrap or a cut-up freezer bag. Alternatively, you can roll the dough out with a rolling pin, still using the plastic.
They come out as perfect little circles! Keep the dough covered while you are using it. It dries out fairly quickly and leads to cracked tortillas. Just keep your dough balls in the mixing bowl covered with plastic wrap. Also, peel the plastic away from the tortilla. Do not try and peel the tortilla away from the plastic. Does that make sense? Peel off the top layer of plastic. Flip it over, and peel away the bottom layer of plastic.
Heat a skillet over medium high-high heat and cook each tortilla for about a minute on each side.
Keep the finished tortillas on a plate covered with a dish/tea towel. This keeps them warm and pliable.
And there you have it! So easy, right?! Extremely simply, extremely cheap, and extremely tasty.
Here is my insanely over-exposed picture of one of the chicken tacos we made with these tortillas. So delicious, I had one for breakfast this morning. :D

Saturday, January 12, 2013

Roast Chicken and Gravy

I made this particular chicken and took the pictures MONTHS ago! I guess with the baby and new house and everything, it got lost in the shuffle and I never blogged about it.
I LOVE making roast chicken. It is so easy and the homemade gravy just takes the cake. All you need are a few basic ingredients and you're on your way!

Roast Chicken and Gravy

Ingredients: 
1 whole chicken
A lemon
A couple cloves of garlic
One small-medium onion
Fresh or dry Thyme
Salt and pepper

Someday i'll learn how to photograph raw chicken so that it doesn't look sickly.
 You'll need some kind of roasting pan. Here's mine. :) Oh, and start preheating your oven to 450 degrees.
Rinse your chicken, inside and out (take out any giblets or whatever that gunk is that's stuffed inside.) Dry your chicken really well. The drier it is, the crispier the skin will be. Truss your chicken! You basically grab the little legs, cross em and tie them together. You are also supposed to tuck the wings underneath and I completely spaced on that part. Salt and pepper the bird inside and out.
 Now, slice up that onion and layer them all over the bottom of your pan.
 Grab that lemon and either poke it all over with a fork or slice it in half, like I have, and stuff it inside the chicken's bum. Also toss in 2-3 garlic cloves and some Thyme. Set the bird on top of the onions.
 Put the lid on your pan and roast in the oven for about 50 minutes, then take the lid off and continue roasting for another 10-15 minutes. Check the temperature to be sure it's fully cooked. The thickest part of your bird should be 165 degrees.
 Now, move your chicken to a plate or platter, but don't cut it yet! It needs to rest for 15 minutes. If you cut it, it will start to "bleed." Basically, all the juices will come spilling out. I make this mistake quite often. You'd think I would eventually learn.
Anyway, if your roasting pan is stove-top safe, stick it right on a burner and turn the heat to medium-high.
 Add about a tablespoon of flour and mix, mix, mix!
 After about 1 minute, pour in some water or chicken stock. I use water. It's cheaper. Stir it up and continue cooking until it's really mixed and reduced and thickened up. About 4 or 5 minutes. I really just eyeball the amount of water, but 1 or 2 cups should be good.
Now you can either toss your gravy in a blender and whiz it up until it's really smooth, or you can just strain it through a mesh strainer.
 If it seems too liquidy, don't worry, it WILL thicken up. Trust me. It will really, really thicken up.
And serve! Yeah, I cut into my chicken too soon. The juices all came running out like they were racing. Oh well. We were hungry. Now go buy a chicken and impress some guests! Or just your family. Whichever.

Tuesday, January 1, 2013

Easy Mexican Rice

First things first. Let me finally introduce you to my new kitchen!
I am in LOVE!
It may or may not have been the deciding factor in which house we bought. :)


Go ahead. Be jealous. :D

For Christmas, my sweet hubby got me a tortilla press and it is awesome! I am SO terrible at rolling out circles, so when I make tortillas, they end up looking like blobs. Not anymore! I used it for the first time tonight and all my tortillas were perfect little circles!
Here is the recipe I use for tortillas, if you are interested. Flour Tortillas


Now, on to the recipe. This rice is SOOOO easy and comes together super quickly. I've used instant rice here because it's quicker, but you can do the same thing with regular rice. You would just need to halve the amount of rice used and let it sit on the stove for longer. 

Easy Mexican Rice

Ingredients:
2 Cups Instant Rice
1 Cup Chicken Broth (you could also just use water or vegetable broth for a more vegetarian/vegan approach)
1 Cup Salsa (your choice)

 Mix the chicken broth and the salsa together in a saucepan and heat on high until boiling.
 Once it's boiling, stir in your rice, remove from heat, cover and let sit for 5 minutes.
And there you have it! I told you it was amazingly easy! I served mine with quesadillas filled with cheese and this mixture and a side of fresh pineapple.. So yummy!

Related Posts Plugin for WordPress, Blogger...