Friday, November 18, 2011

Two Ingredient Ice Cream

 HEY!!!! It's ME!!! Your long lost blogging buddy!!! How have you been?!?!
Ok, I know it's been a while. You know when life just gets super crazy and you don't have time for anything? Yeah, that's not what happened. Sure, things were a bit busy for a while (Yo Gabba Gabba Live, my mom visiting, shopping, church, Breaking Dawn, etc. . . ) but in truth, I just haven't made anything worthy of posting on here lately!
I did, however, enlist my husband to help me make this SUPER easy ice cream a while ago that I wanted to share. It is by no means a "real recipe" but it sure is fun, easy, and, I think, a great idea for some kind of sleepover/party type thing. Just sayin'.

Here goes!
Two Ingredient Ice Cream
I know, there are three ingredients here. Shh!

Heavy Whipping Cream
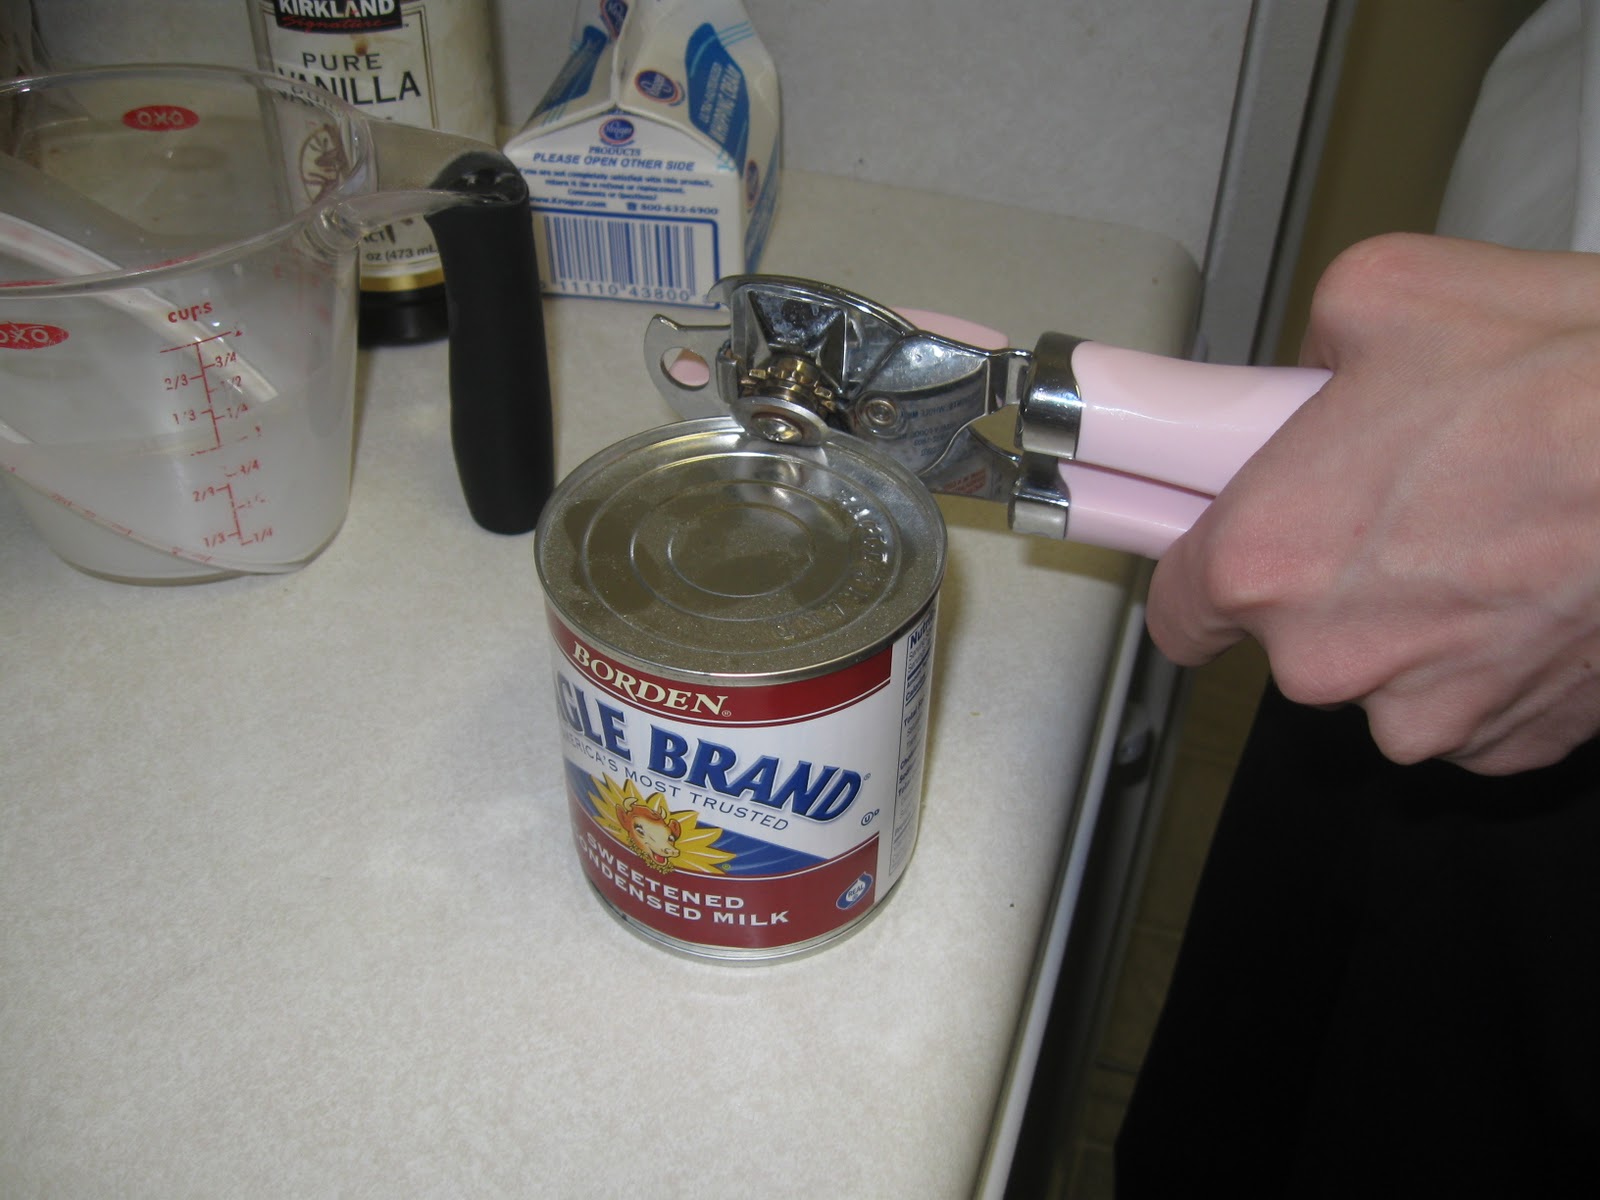
Sweetened Condensed Milk

Optional- Toppings. I have Vanilla pictured here.
 We only made a half batch, so you need one cup of whipping cream and pour it into a bowl. Pretty simple if you ask me.
 I started hand whipping, because i'm a crazy person, while my hubby measured out half of the can of sweetened condensed milk. How much did it end up being, hubs? I dunno. It was half the can.
 Once it's beautiful and fluffy, you are done! Don't keep going. It will start to turn into butter!
 Now, add your sweetened condensed milk.
 This is where you can add your toppings OR you can wait a few minutes and a couple steps below. I decided to add a tsp of Vanilla at this point.
 Now just fold it all together.
If you taste it at this point, it tastes like melted ice cream.
 Now choose whatever container you like. I love to use my little smushed-looking mason jars. You can also use Pyrex dishes, plastic tupperware, or whatever. Pour some in there, but leave an inch or two at the top.
 Now this is where you may add your toppings if you like. It's fun to make it a little more personalized. For a sleepover, you can just have a little buffet of yummy things (crushed oreos, snickers, fudge, caramel, brownie pieces, cookie dough, andes mints, etc. . . ) and add some to your little ice cream cup and just mix them in. For the hubster we added some Reese's. I kept mine plain. I am boring.
 Ready! Stick them in the freezer overnight or for at least 6 hours.
 Take it out and enjoy just how freaking creamy this stuff is!

Extra notes: Please!!! Experiment!!! Add cocoa powder or chocolate syrup for chocolate ice cream. Add cinnamon, nutmeg, cloves, ginger. Try donut pieces and pastries. Add cake mix. Add streusel and baked apples. Have fun! I found this recipe on another website, but now I can't find it! I'll come back and add a link once I can figure out where this came from.
Oh, and sorry the pictures aren't fab. We made these at 11 o'clock at night. :)

Tuesday, November 8, 2011

Mini Bacon-Wrapped Meatloaf

You know, I was going to share a meatloaf recipe here, but here's the thing about meatloaf: Everyone has a favorite. Some like it super juicy, some more dry, some with more ketchup, some with BBQ sauce, the list goes on. So here, I am just going to show you a DIFFERENT way to serve up whatever YOUR favorite kind of meatloaf is. Ok? Good!

Grab your stuff. When I make meatloaf, I tend to just throw whatever in there. Makes things easy. You will need bacon though. Don't forget it!
Here, I used:
1 lb grass-fed ground beef from a local family farm (Can you hear me up here on my soapbox? Lol)
Some ketchup
A couple eggs
Some bread crumbs (saltine crackers are the normal route I take, however)
A clove or two of minced garlic
Half an onion (I REALLY wish I had only used a quarter. Seriously)
Salt and pepper
BACON!
You will also need a muffin tin. Whaaaat?!
First fry up your bacon. Plop some in a cold pan, turn it to medium-low, and just let it do it's thang. We don't want to cook it all the way, though! No, no! Just about halfway done.
Oh, and preheat your oven to 375.
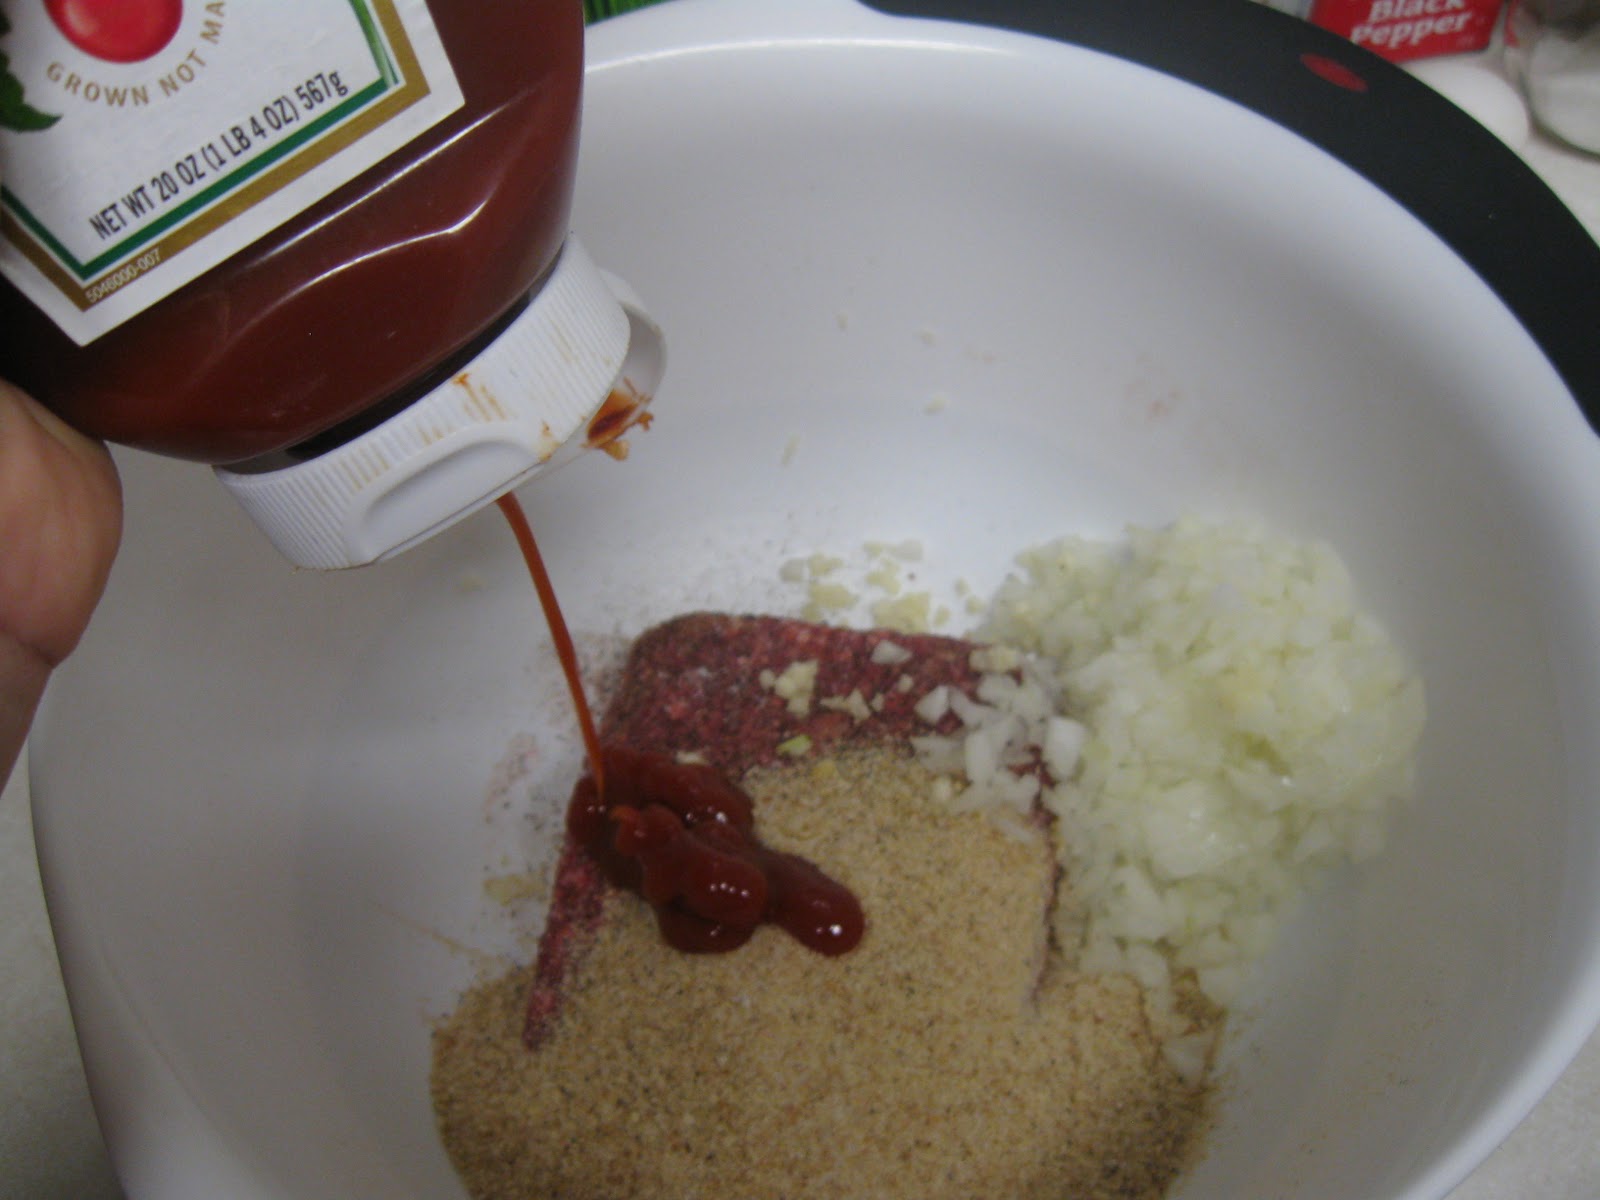
In the meantime, add all your ingredients to a bowl.
Yeah, I put WAY too many onions in there. I think i'll stick to my typical onion powder for next time. I just needed to use up this onion, ok?!
Ketchup! I just squirted it in there for a bit.
Eggs and everything else.
Now's the fun part. Moosh it all together! Don't use a spoon. What's the point in making meatloaf if you don't get to relive your childhood and squish your hands through that raw meaty mixture? :)
Check your bacon. Mine looks about halfway done, I guess. It doesn't have to be perfect.
Move em to a paper-towel covered plate to soak up the excess drippings.
Once they've cooled off for a minute, you can cut them in half! This isn't totally necessary. You'll see why.
Now, grab a handful of your meatloaf mixture and roll it into a ball.
Spray your pan with a little cooking spray, and then set that little guy right into the muffin cup thing. Here's where the fun begins. You can either drape a piece of bacon over the top. . .
. . . or wrap the bacon around the ball!
I did a few different things, and then one plain one. Just experiment! Pop these into the oven for 30-35 minutes. During the last few minutes, I like to turn the oven up to broil just to make sure the bacon is nice and crispy. :)
Can you see these? See all those onions?! Oh, it was overwhelming. But, please note, I hate onions. Haha!


Extra notes: As you can see, this only makes enough for about 3 people. BUT, it's no problem to double or triple the recipe. You'll just have to do it in batches if you don't have more than one muffin tin, like me. Also, most meatloaf recipes have you put a ketchup based sauce over the top either at the beginning, or at some point during the cooking process. You can certainly do that with these as well as if the bacon is wrapped around the outside. I don't know how I feel about putting ketchup right on top of that wonderful bacon. :)

Friday, November 4, 2011

New toys!

I recently won a giveaway sponsored by That's It! on Facebook. I won a $50 Whole Foods gift card, but they sent me a $50 Amazon gift card by mistake. Oh well! I love Amazon too! Rather than getting anything I really needed I got some new kitchen stuff! Check out these beauties!
Like I said, I didn't really need any of things, but they will be fabulous upgrades to what I currently use!
  • I got a box grater which is 10 times bigger than the tiny pink grater I was using. I will still use my little pink one for small meals and snacks, but it will be GREAT to have a big one to shred up a big ole' chunk of cheese! Especially since my amazing parents like to bring up huge amounts for me from Cache Valley when they visit.
  • A new Pizza Wheel! The one we've had for the past 2-ish years was an extra one that my brother had laying around apartment. That he shared with 5 dudes. Needless to say, it wasn't the best quality and who knows how old that thing was. It was probably purchased at a thrift store. Haha! Anyway, this one is PINK!
  • Check out that beater blade for my Kitchenaid! There is nothing wrong with my current beater, but this one scrapes the sides! Woo!
  • I also got that pink knife you see there. Recognize it? Yeah, I already have that particular knife. I just love it so much! Not just because of it's color, but it is so sharp and cuts so well, it's amazing. I'm going to keep that one in the package for now, just in case my blog ever becomes popular and I want to do a giveaway or something. ;)


Don't worry, i'll post a recipe tomorrow. For now, it's Friday night and I just want to relax. :)
Have a great night!

Thursday, November 3, 2011

Pumpkin Cookies with Cinnamon Icing

Autumn! Don't you just love that word? Saying the word "autumn" automatically brings to mind images of multi-colored leaves and hot chocolate. Well, and pumpkin! If you follow other food blogs, you will have noticed the serious plethora of pumpkin related recipes over the last couple of weeks, and now I am joining the crowd. I found this recipe on For the Love of Cooking and they just seemed so different from your average pumpkin cookies, that I had to try them out. I'm so grateful that I did!
Here it goes!

Pumpkin Cookies with Cinnamon Icing
Thank you For the Love of Cooking

2 Cups Unbleached All-Purpose Flour
1/2 Cup Whole Wheat Flour
1 tsp Baking Powder
1/2 tsp Baking Soda
1/2 tsp Salt
2 tsp Pumpkin Pie Spice
1/2 Cup Softened Butter
1 1/2 Cup Sugar
1 Cup Pumpkin
1 Egg
1 tsp Vanilla


Got everything? Good! Preheat your oven to 350 degrees.
We're going to add the first 5 ingredients to a medium mixing bowl. First the all-purpose flour!
Then dump in the whole wheat stuff.
Baking soda, powder, and salt!
Mix it all up! I like to use a whisk. I don't know why. :)
In your fancy shmancy mixer, toss in your softened butter.
Slowly pour in the sugar. Oh, the sugar!
Go ahead and add in the pumpkin pie spice now.  Don't have pumpkin pie spice? I list how to make your own in this post.
Now cream it all together!
When it looks something like this, you can move on. . .
Add your pumpkin.
Then some vanilla.
And your egg. Check out my single hand egg crack!
Mix that all up until it looks good.
Than start adding your flour mixture!
Just make sure to add it slowly. That way flour doesn't fly out the sides of the bowl and get everywhere. I wouldn't know ;)
Mix that all up until it's creamy and smooth.
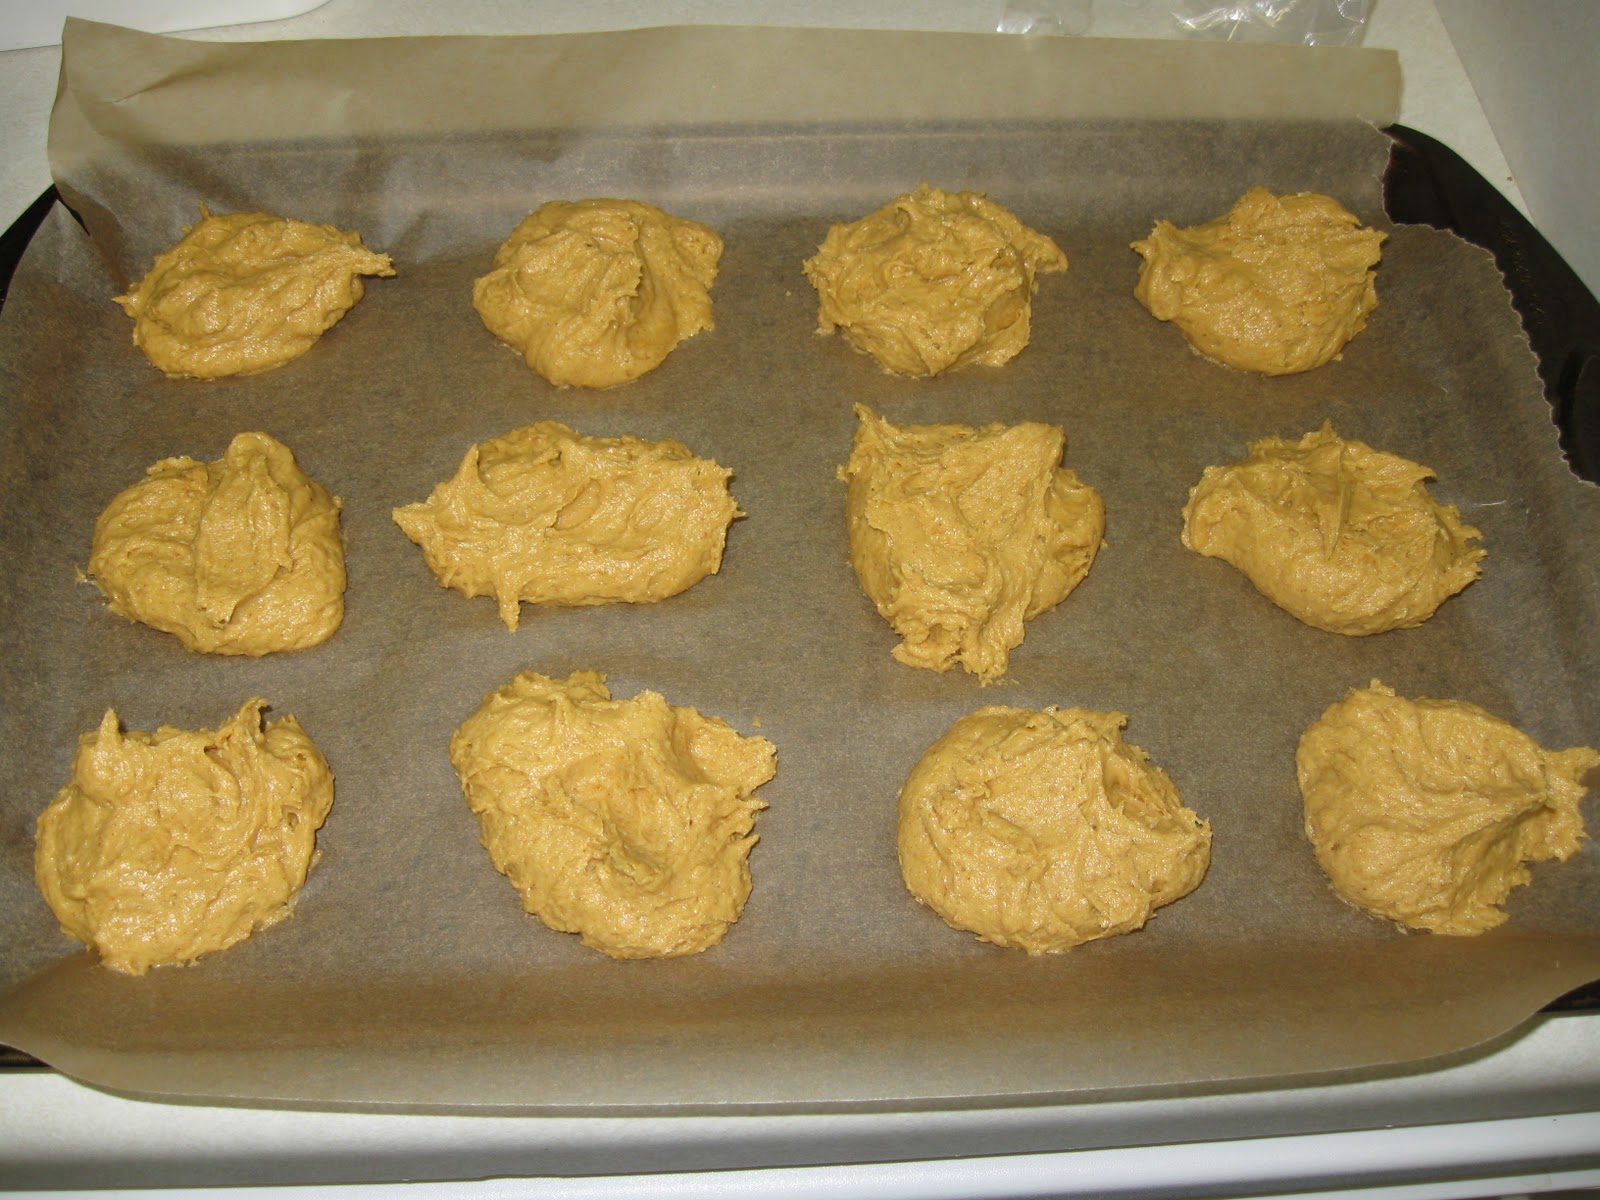
Here comes the fun part! You just grab a spoon, and plop some of the dough right down onto a parchment lined cookie sheet. Go ahead and use your fingers to scrape all the excess of the spoon. Baking isn't fun if you don't get a little messy!
Here they are! They don't need to be perfect.
Put them in the oven for 15 minutes and they will come out beautiful looking, like this!
Cool em off on a wire rack. In the meantime. . .
. . . make the icing! Now, the icing isn't totally necessary. These cookies are great on their own. However, you have an opportunity here to add even more sugar to these things. Are you going to take advantage of that?!
Good. You'll need:
2 Cups Powdered Sugar
About 1/4 Cup Milk
1 tsp Vanilla
1 tsp Cinnamon
1 Tablespoon Melted Butter
We're going to just dump everything into a little bowl! There goes the milk and butter!
Cinnamon and vanilla!
Powdered sugar!!!
Whisk it all up. I seem to have forgotten to take a picture of everything completely mixed together.
Go ahead and pour the icing over the cookies! (You might want to make sure you have something underneath your cooling racks- wax paper or something.)
Now, EAT THEM!
Just had to include this. Check out that sweet drip-in-action in the top left corner!

Extra notes: Like I said, you don't really need the icing. It does add a nice little extra layer of flavor though. With the size of my cookies (I like them on the large side), this recipe made about 18-19 cookies.
Related Posts Plugin for WordPress, Blogger...